My Gluing Instructions
The Instructions for Gluing Paper Airplane Models

|

|
|
1. Download the *.pdf and print the paper airplane design onto card stock or poster board.
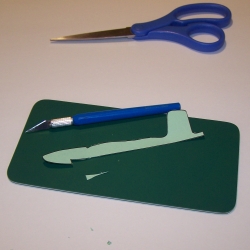
2. Cut out each piece of the paper plane carefully.
3. Trim the plane pieces with an X-acto knife where required. Make sure the rubber band notch (above right) and
the gluing zigzag cuts (below left) are as close to the line as possible.

|

|

|
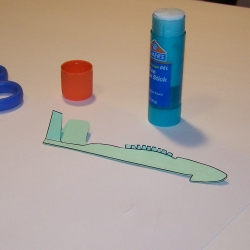
4. Use a ruler to fold out all straight folds such as the airplane's tail sections.
5. Use fingers to fold out zigzag lines for gluing on the plane's wings.
|
|
|
6. Glue the airplanes body pieces together. You can use a glue stick or a brush with a mixture of 50% white glue
and 50% water. The stick is faster but the white glue mix will bond the paper together better. If you use glue
stick to glue your paper plane together you may be able to skip steps 7 and 8 below. Note: To keep up with which
piece goes where the rule is that the ink points out. Also if more than three pieces are used I will label the as
0 (center), 1L or 1R (next out), 2L or 2R (further out), etc. For even number of body sections there will be no
"0" piece just glue 1L and 1R together. Left and right is based on looking from tail forward on the airplane.
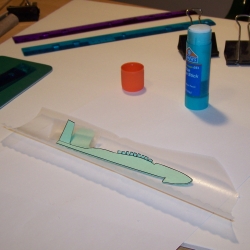
7. Cover the plane with wax paper or plastic wrap including putting a small piece between the tail sections. Look
carefully and you can just see this small piece in the picture above center.
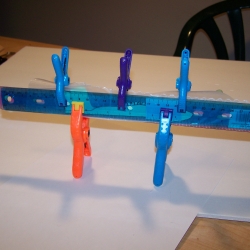
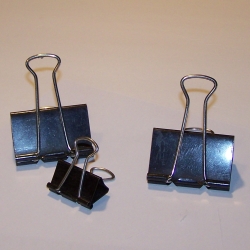
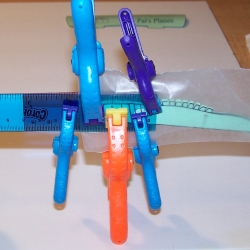
8. Clamp as shown (above right) using rulers or strips of wood to flatten the paper airplane down. Medium or
large binder clamps will work good as clamps (below left).
|
|
|
9. Allow the body to dry for a few minutes longer if using white glue mix. Remove clamps and glue the airplanes
nose pieces to the body section. Reclamp on the nose of the paper airplane.
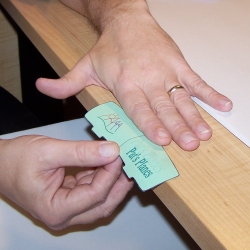
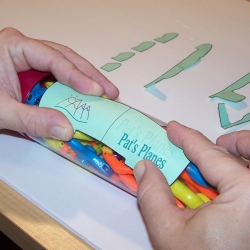
10. While the nose is drying rub the wing on the corner of a desk top to add some curvature to the bottom of the
airplanes wing (above right). You can also use a round object such as a roll of tape or a can to curve the wing
(below left).
|
|
|
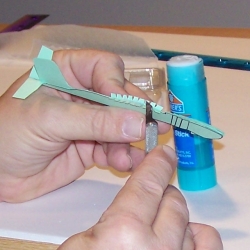
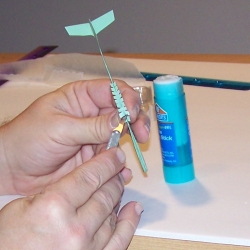
11. Apply glue to the wing making sure that the gaps are filled with glue and that the whole glue line is a smooth curve down the airplanes body. The pictures above (center and right) show how to use the side of an X-acto blade to do this. Wing direction is shown with an arrow pointing forward. Also look for a small line on one side to show lead point of wing.
|
|
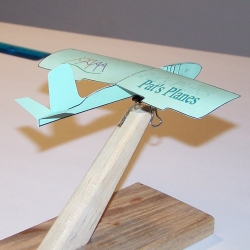
|
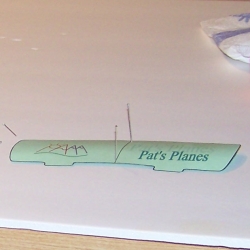
12. Push a couple of straight pins through the wing on the center line.
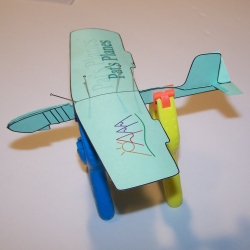
13. Use these pins to align the wing to the paper airplanes body. while the glue dries. Add a few more pins along
the wing to hold it to the plane's body until the glue dries.
14. Set the plane aside to completely dry. Since there is more glue used in the airplanes nose than the rest of
the model the plane would fly nose heavy until it dries.
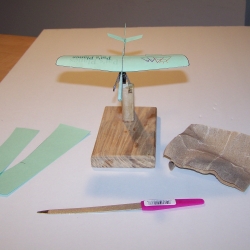
15. Use sand paper or a file to smooth down the edges. Test fly to see if the plane is balanced. If the nose goes up cut out and add a little more weight to the front of the paper airplanes nose. If the nose goes down either sand off some more or glue a little weight to the rear of the paper plane.
Extra Tips: Add a line of glue to all the joints, like caulking, after the airplane is finished. This is really a good thing to do on bends to keep the angle correct. I use white glue and apply with the tip of X-acto blade or a toothpick. Another tip is to spray the finished plane with a sealer like craft varnish or polyurethane. Even a couple of coats of hair spray will strengthen it and add a little bit of water protection. Try flying both straight and also shooting up at about 75 to 80 degrees and allowing to slow glide down. Just be safe at all times.
